Windows Server 2019 Essentialsのインストールで、OSを新規インストールし、Active Directoryの構成を実施するところまでの手順を紹介しました。今回は、管理用のクライアントPCにWindows Admin Centerを導入し、ブラウザ上からサーバーの管理をできるように構成します。
Windows Admin Centerとは
Windows Admin Centerは、
- 簡単なインストール
- ブラウザ上からの管理
- Microsoft Azureポータルに似たGUI
などを特徴とする、Windows ServerのGUI管理方法として登場した新しい仕組みです。
今後のWindowsサーバーの管理はこのWindows Admin Centerが中心になっていくと思われ、どんどん機能追加が行われていくと思われます。
Windows Admin Centerのインストール
直近のWindows Serverでは、[サーバーダッシュボード]を開くと以下のようにWindows Admin Centerの利用へ誘導するポップアップが表示されます。
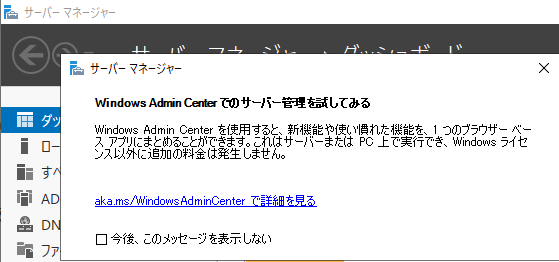
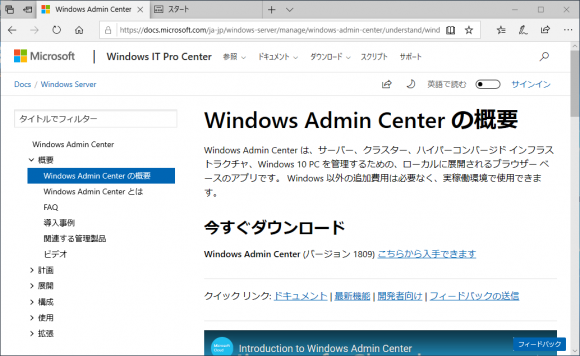
しかし、ドメインコントローラーにはWindows Admin Centerはインストールできません。管理用のクライアントPCから、http://aka.ms/WindowsAdminCenterからパッケージを入手してインストールします。
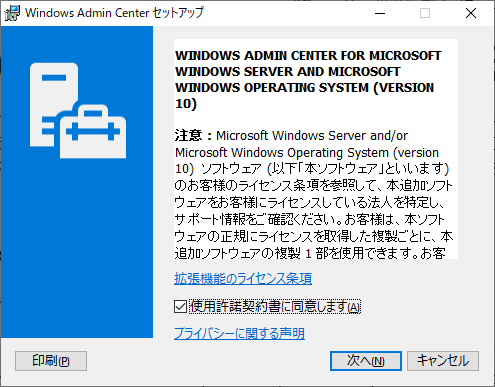
インストーラーのウィザードに従い、インストールしていきます。

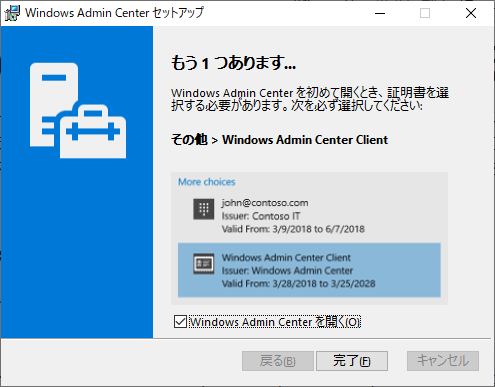
インストールが完了すると、以下の画面が表示されます。Windows Admin Centerの初回起動時にSSL証明書を選択することを促されます。
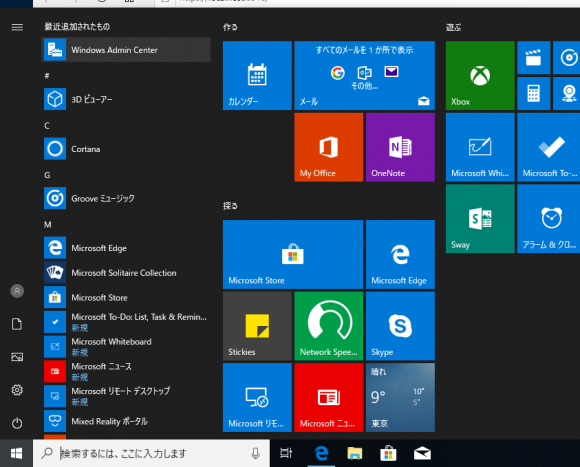
クライアントPCのスタートメニューから、[Windows Admin Center]を起動します。
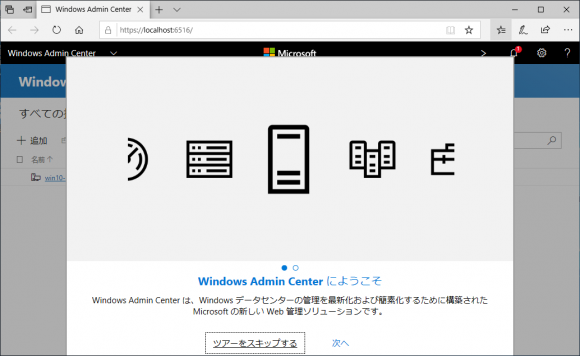
Windows Admin Centerが起動したら、[次へ]を押下します。
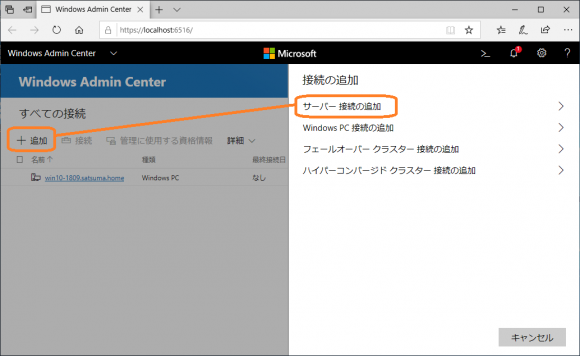
Windows Admin Centerが起動すると、クライアントコンピューターはすでに登録されています。サーバーを追加するために[+追加]を押下、[サーバー接続の追加]を押下します。
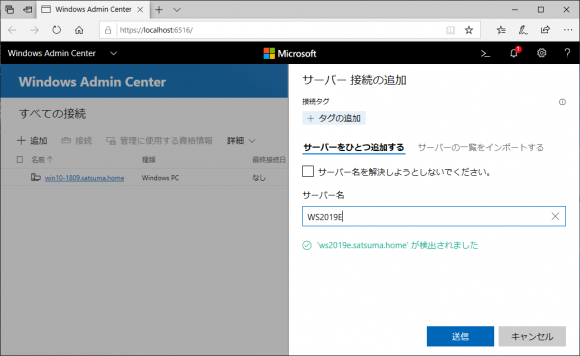
[サーバー名]にEssentialsサーバーのコンピューター名を入力すると、自動的にサーバーの名前が解決され検出されますので、[送信]を押下します。
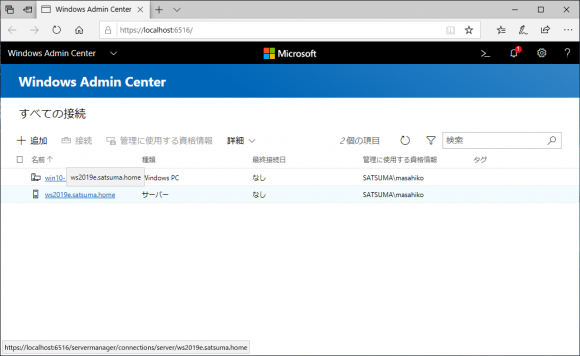
サーバーが追加されました。サーバーを管理するには、サーバー名がリンクになっていますので、リンクを押下します。
Windows Admin Centerでサーバーの管理
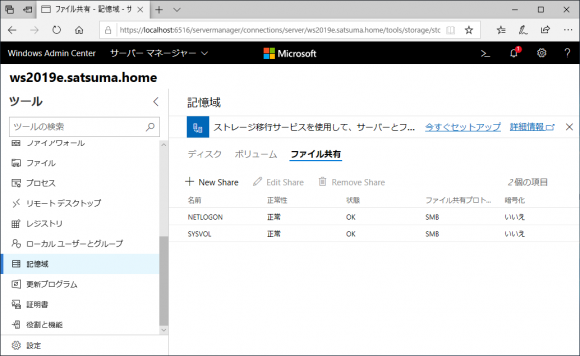
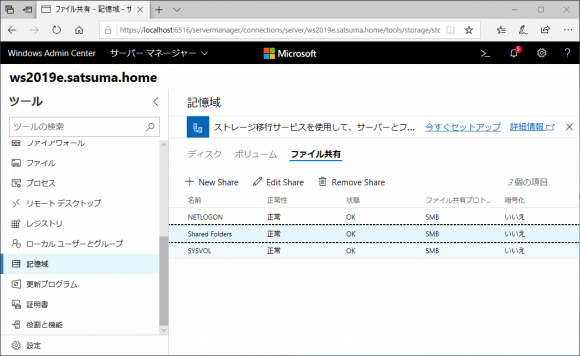
現在のところ、サーバーダッシュボードでできていた管理のうち、Windows Admin Centerでもできるのは共有フォルダーの管理です。
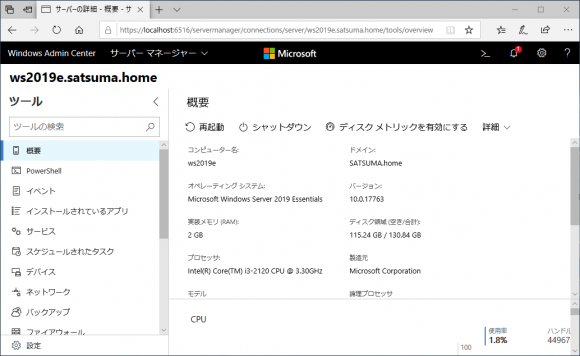
Windows Admin Centerからサーバーを選択します。ログインすると、以下のような画面が表示されます。
共有フォルダーの作成・管理
Windows Admin Center>[記憶域]>[ファイル共有]を開きます。
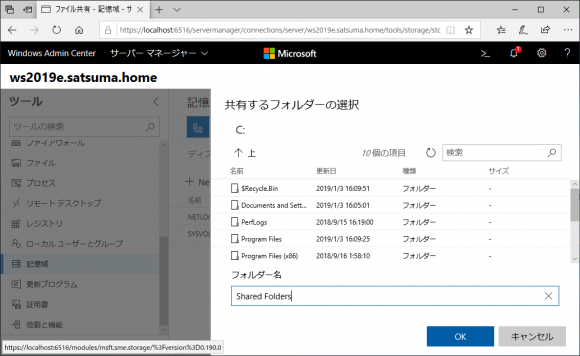
[+ New Sahre]を押下すると、既存のフォルダーを共有フォルダーとして共有することができます。
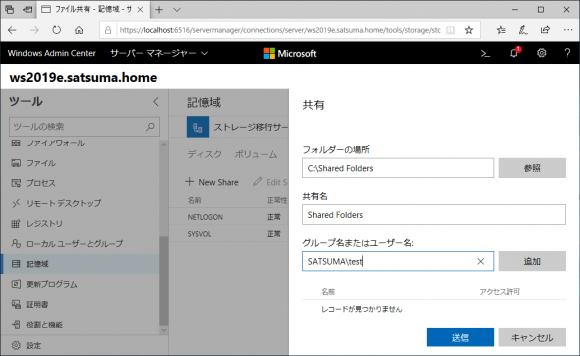
アクセスを許可するユーザー名をドメイン名\ユーザー名の形で入力し、[追加]を押下します。押下後、[Read][Read/Write][Deny]から権限を指定して[送信]を押下します。
コメント